Can I Go Hiking with No Toenail? Tips for Managing Toenail Loss on the Trail
Hiking is a thrilling and fulfilling exercise that provides an opportunity to experience nature, take in beautiful scenery, and work out. But it has its share of difficulties, just like any outdoor activity. Toenail loss is one such issue that hikers may face, whether as a result of trauma, injury, or just overuse on strenuous hikes. You’re not the only person who has ever asked, “Can I go hiking with no toenail?” Although losing a toenail can be upsetting and unpleasant, hiking can usually be resumed with the proper care and precautions. The consequences of losing a toenail, the dangers associated, and how to handle the situation to guarantee a comfortable and safe hike will all be covered in this article.
Table of Contents
ToggleWhat Happens When You Lose a Toenail?

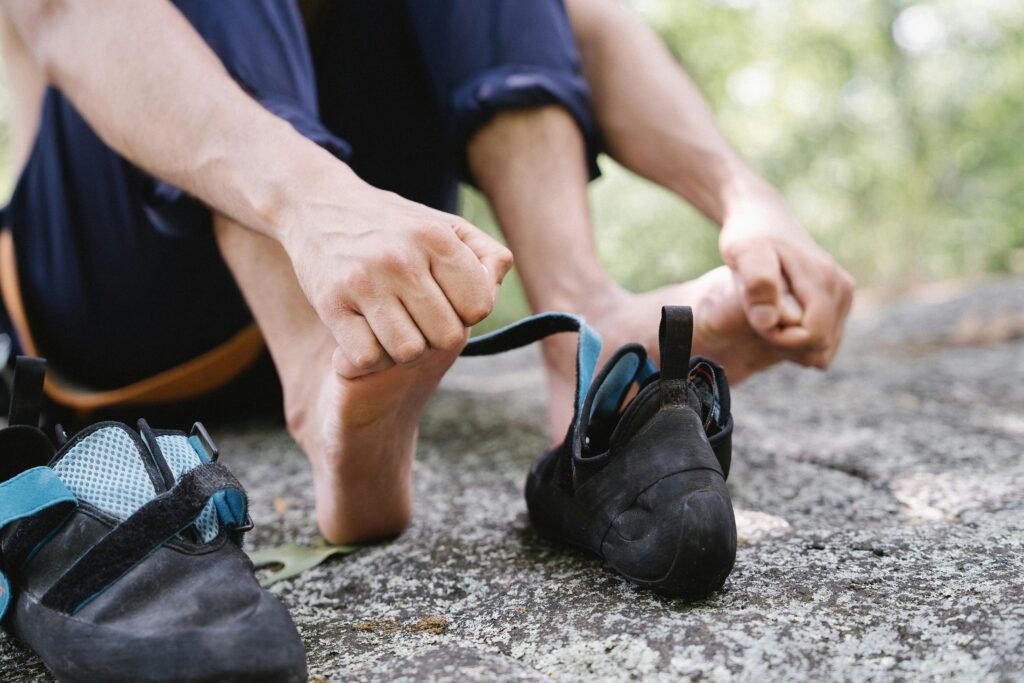
There are several causes of toenail loss. You may have had a fungal infection that weakened the nail, stubbed your toe on a rock, or been overly compressed by tight shoes. The most frequent situation on the path is when the toenail partially separates, however it might occasionally come off entirely.
When a toenail falls off or detaches, you could experience the following symptoms:
- Pain: This occurs because the nail bed underneath is sensitive and the place where the nail was previously located is exposed. Walking downhill or wearing shoes that rub against the area are examples of pressure that might exacerbate the pain.
- Bleeding:Toenail loss often results in a subungual hematoma, or buildup of blood under the nail. The tremendous pressure that this creates may cause pain and suffering.
- Swelling and Tenderness: The afflicted toe may swell and become more sensitive to touch, which can be particularly problematic when doing demanding tasks like climbing.
Should You Go Hiking with No Toenail?
Although hiking without a toenail might not seem like the most enjoyable option, it is possible to continue trekking if the proper safety precautions are taken. However, there are a few things to consider before you start hiking.
1. Pain and Comfort

Hiking without a toenail can be very unpleasant, especially if the injury is still healing. Because your toenail shields the sensitive tissue underneath, without it, the exposed nail bed may be more susceptible to irritation from your shoes, socks, and the typical impact of walking.
If the pain is manageable, you may be able to hike with a few modest alterations. If the pain is severe, it is advised to rest and give your toe time to heal before starting more strenuous activities.
2. Risk of Infection

The absence of a toenail increases the risk of infection. After the nail is removed, the toe becomes vulnerable to dirt, bacteria, and other contaminants that could penetrate the exposed area. Trekking and perspiration may further raise the risk because of friction.
To lower the chance of infection, keep your toe clean, dry, and protected while hiking. By using socks that wick away moisture and maintaining proper foot cleanliness, you can reduce your exposure to bacteria and other harmful substances.
3. Wound Healing

Before trekking, it’s important to properly treat a partially removed toenail that is still attached to the toe. If you don’t let the nail to heal, there can be problems, like irreparable harm to the nail bed. Hiking may put undue strain on the toe and delay its healing.
How to Manage Toenail Loss While Hiking
If you’ve made the decision to go a-hiking’ in spite of losing a toenail, or if you’re working with a partially detached toenail, here are some measures you can take to make the experience safer and more comfortable:
1. First Aid for Toenail Loss

- Tape the Nail (If Partially Detached): If your toenail is still partially attached, you’ll want to keep it in place so that it doesn’t get further injured, so tightly tape it to the toe. Tape it down with medical or sports tape so it does not risk getting snagged or rubbed.
- Clean the Area: Clean the Area: Before taping the toenail or covering the area, gently clean the toe with warm water and mild soap. That will help prevent infection.
- Soak Your Toe: bring salt with you on your hike. Salt works to clean and disinfect the toe by soaking in saltwater, about a 15 minute soak. This will ease the pain and help prevent an infection.
2. Choose the Right Footwear

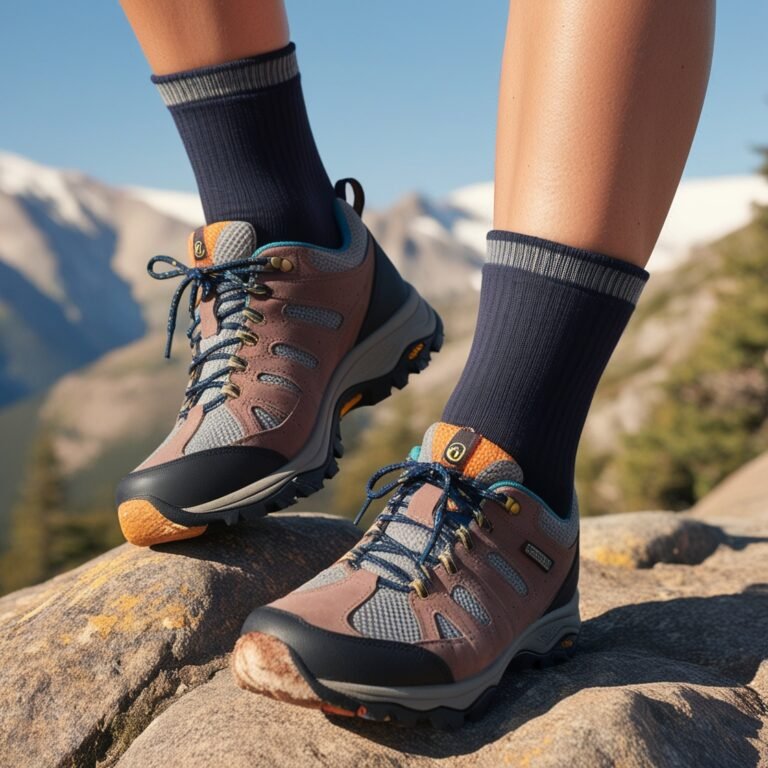
- Comfortable Shoes: Choose a good pair of properly fit hiking shoes offering right support without excess pressure on your toes. Opt for footwear with a wider toe box, to allow space for your feet to breathe.
- Padded Socks: Put on socks that are cushioned to reduce direct contact with the sensitive area. Wearing moisture-wicking socks can also keep your feet dry and prevent bacteria from developing.
- Bandage or Cushioning: If the toe is still exposed or raw, cover it with a bandage or dress the toe to protect it from further injury.
3. Monitor the Injury

- Regular Check-Ups: During your hike, make sure to check your toe from time to time for any signs of increased swelling, infection or worsening pain. “If it gets exacerbated, it’s best to halt and get medical care.”
- Stay Hydrated and Rest: Ensure that you remain hydrated as good hydration can aid your body in recovery. Take plenty of breaks as well to relieve pressure on your toe and give it time to rest.
4. Be Mindful of the Terrain

- Avoid Intense Downhill Hiking: The pressure of stepping down can create additional pain and increase the risk of further injury. If you have to hike on rough terrain, then do so — try to reduce your peak descent or take your time more than you generally would to avoid straining your toe.
When to Skip the Hike

“If it’s too painful or you’re at high risk of infection, it is best to avoid the hike until your toe heels,” Dr. McFadden said. If, however, this is secondary to an underlying medical illness such as an infection, you should speak to a healthcare provider to determine when you may return to higher levels of activity.
Conclusion
But while yes, you can hike a toenail-less toe, this is a time to assess the risk versus reward — and your level of discomfort. Additional Resources: Your guide to running shoes for newer and speedier runners by the Times. Adopting proper foot care practices, taking preventive steps, and using correct equipment will minimize the pains and hazards of a missing toenail. But always listen to your body — if the injury is painful or you suspect that you’re at risk for infection, it might be prudent to stay put and heal before heading back out on the trail. if you need more information about hiking, please visit our others hiking guides article.

